How I draw Otherworld
16/05/11 11:12
Prep
When I decided to make this comic I was really out of practice drawing. I basically hadn't drawn for pleasure in about six years. That's pretty amazing considering I drew constantly from the age of about 6 until I was 28. The fun had just gone out of it for me.
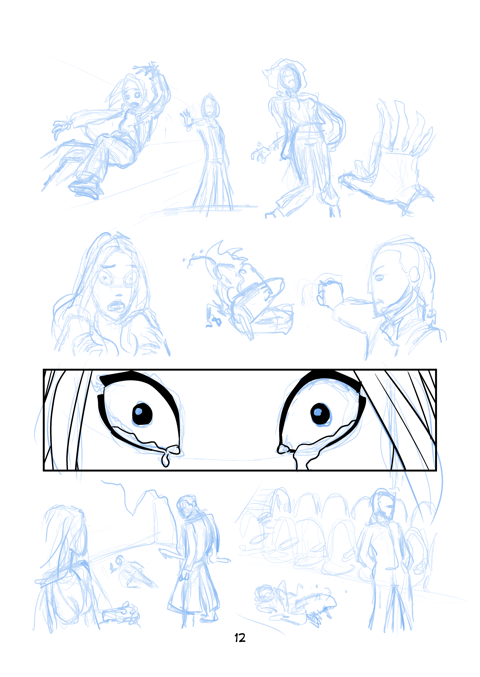
What that meant was I was so ridiculously bollocks that I could not start drawing the comic at all until I practiced. So between jobs in August and September last year, I just sat in a cafe all day and filled endless sketchpads with shit like this:
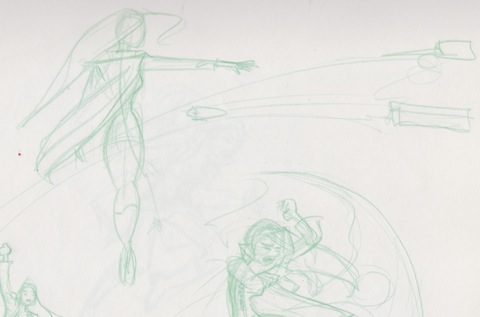
It was depressing but after two months of drawing all day, I begun to get my hand back.
I started drawing the first actual pages of Otherworld on November 1st and I gave myself a month to draw enough pages for a solid launch. I worked every day and night excluding weekends and managed to finish only 17 pages.
It was a painfully slow experience.
I use Manga Studio EX to draw Otherworld, which explains the awesome speed lines and dodgy speech balloons. Part of the slowness was really becoming comfortable with the package and it's tools. Part of the slowness was my general crappyness but most of it was down to process.
So I'm going to go through the stages that a page goes through and talk about efficiencies I have found.
First off, to explain Manga Studio a bit, it has this cool feature that lets you cut up a vector panel frame into whatever panels you want, then it automatically turns those panels into separate layer folders with bleed and stuff. It's sweet, but it made me do things a bit madly at first as you'll see.
Writing.
I started writing the Otherworld script in pages on the iPad but it was a massive pain transferring it back and forth to the computer. After trying a few different things I settled on using notes.
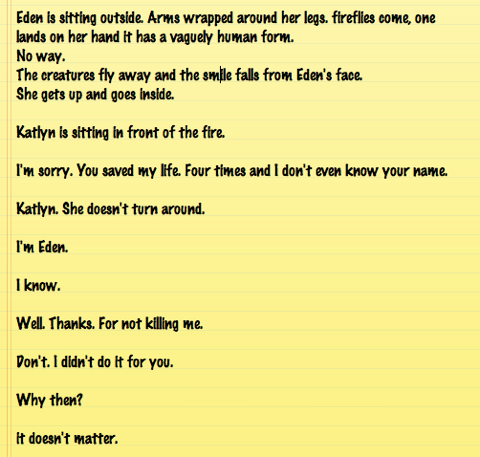
It's a rubbish word processor, but it synchs everything automatically between my mac, iPad and iPhone. That means I can fiddle with it wherever I am whenever an idea for a change strikes. It's a shame more stuff doesn't work like that on iOs devices because it's pretty mint.
I also outline quiet comprehensively, for that I use an iPad app called Carbonfin Outliner. It's pretty pants too, but there's not a better one for the iPad and it does the job. Not going to show you a screenshot of that one (spoilers.)
While the Outline for the whole story is finished and every scene is mapped out in terms of information and plot movement, I am only one chapter ahead on the script itself. Mostly because I love writing and it's a really refreshing break to skip ahead to the good parts when the pages I'm currently on are necessary but a bit less exciting.
Sketching
I started out scanning in panels from my sketchpad. That took AGES.
After the first four or so pages I decided that it was crucifying my speed and decided to try sketching directly into Manga studio.
I would sketch thumbnails of the whole page in my sketchbook, then split the page into panels in Manga Studio. Then I would do each panel from start to finish one after the other. It took AGES.
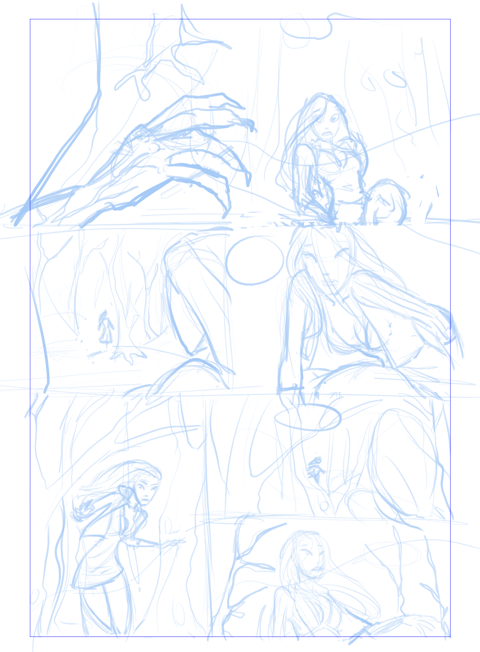
After a bit I realised that since all the panels needed their own sketch layer, why didn't I just make a single sketch layer for the whole page? It's obvious, I know.
So that head slappingly obvious change meant instead making 7 new sketch layers per page I only made one. But it also meant that I could remove the step of thumb-nailing the page in a sketch pad and do that on the page's sketch layer instead.
You can see on the above image from chapter 1 page 12, sketches and the beginning of the next stage which is...
Inking
There's not much to say about this. Manga studio uses vectors. I was about 30 pages in before I worked out that it has this amazing feature to delete lines until they cross another line. Finding that cleaned up the lines a lot, but I'm embarrassed to say that I didn't find the line level tool until chapter 2.
Line level lets you remove the wobbles from a vector line and shift it around wherever you like after you've drawn it. It was hidden in a flyout! Crazy. Me, that is.
So the second half of chapter 2 has much better line work, even though I still only use two grades of line thickness for speed's sake.
Tones
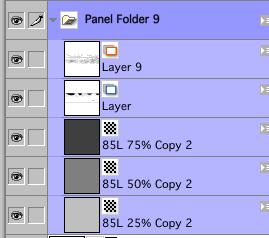
I use only three tones in addition to black and white. 25%, 50% and 75% gray.
An early efficiency to this, was throwing those three tones into every single panel at the start of the toning process through layer duplication. That saved me a good half an hour per page and tidied up my layer folders no end. They all look like this now:
Give me ORDER!
After much gnashing of teeth and beard pulling (my head hair is a bit too sparse and therefore precious to pull on) I now do things like this:
The main trick is to move all the pages for a week's drop through the stages that will get them to final at the same time.
Batching types of work is a massive time saver.
Step 1 Sketching
Compare this sketch for page 14-
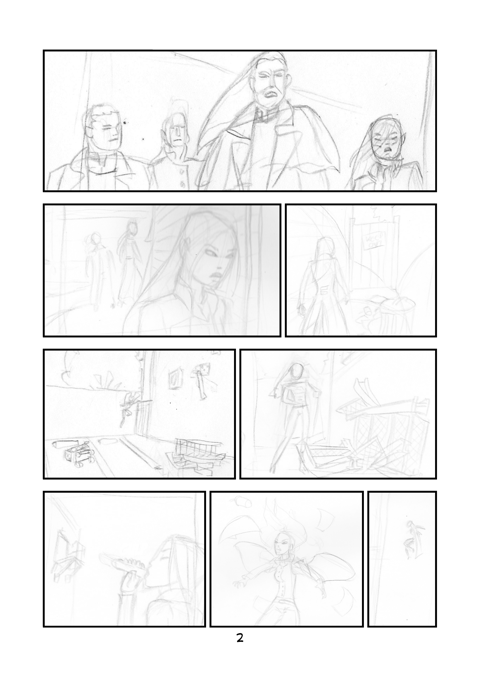
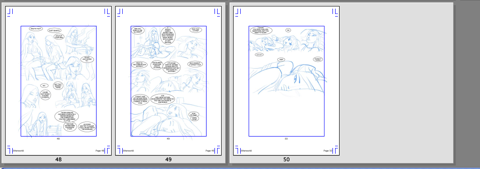
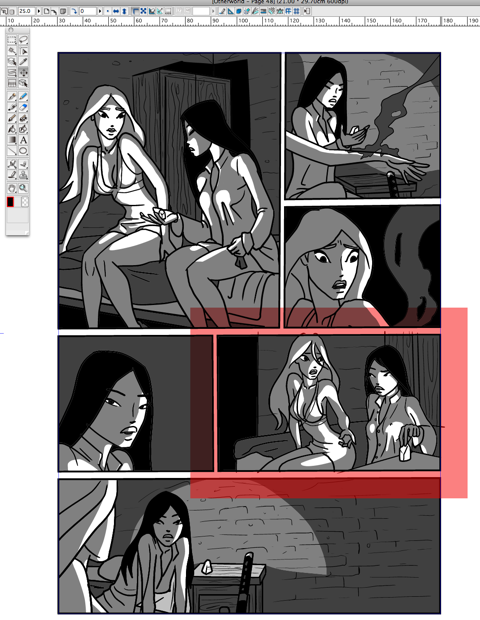
With this sketch for page 48-
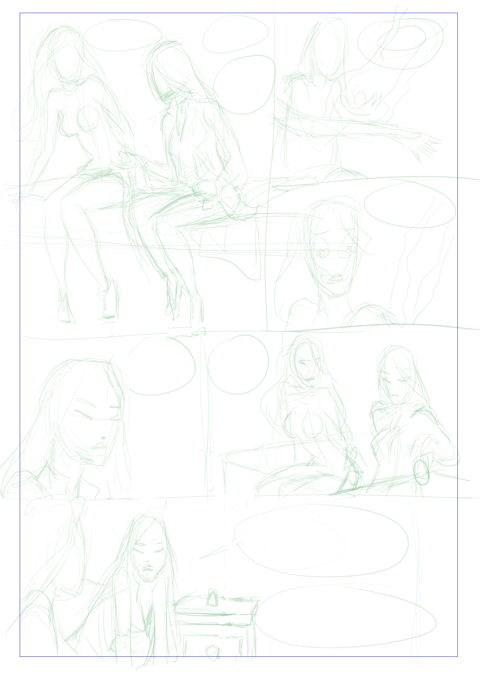
This is really ridiculously loose and you'll see why soon.
Step 2 Panel Ruler and text
I used to do the text last, but that was stupid. Even though I always planned for them, sometimes the speech bubbles were just too big or just obscuring more than I wanted.
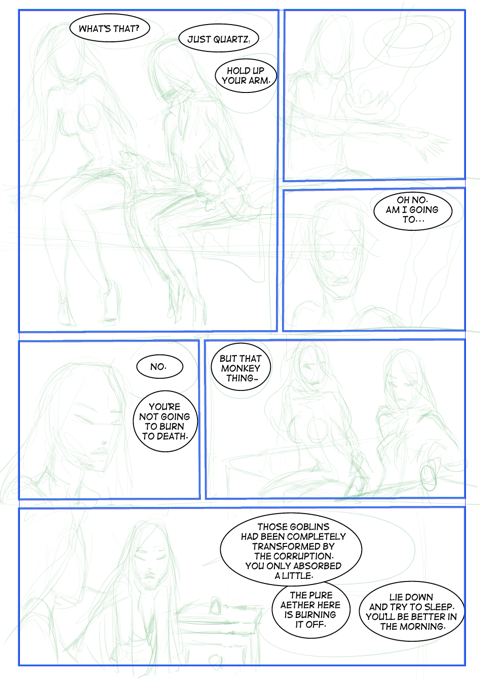
So now I put all the words in and adjust the scale of the sketches to make sure it's all working before I really start drawing proper.
Step 3 Clean sketch
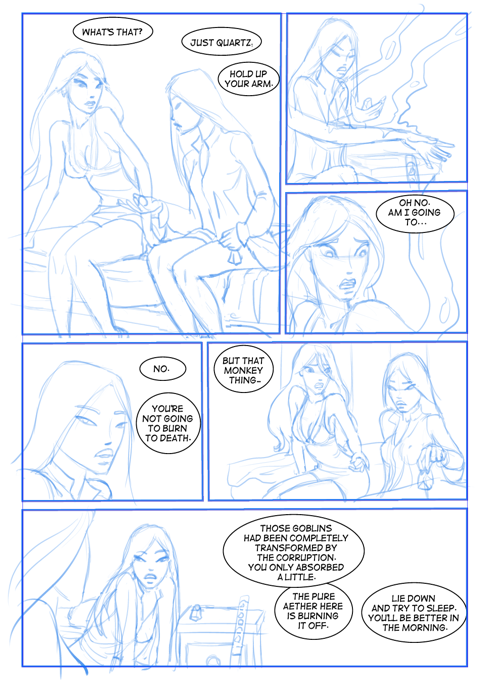
I go over the thumbnails with this more detailed sketch layer. This has definitely slowed down the sketching phase but the quality has gone up and in the end it makes inking much faster, so it's definitely worth it.
Step 4 inking
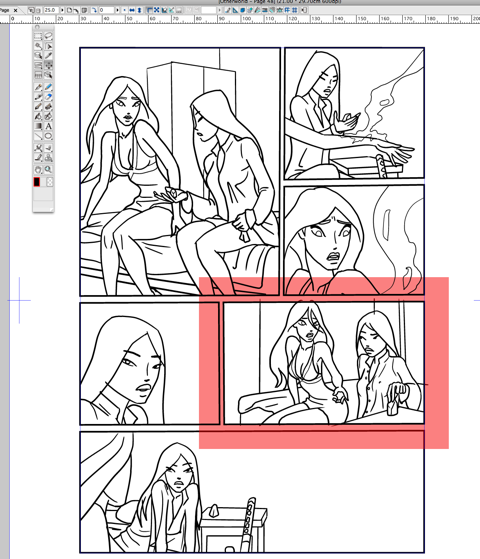
Manga Studio EX has some nice vector brush features, they are well worth the extra expense in my opinion. I am now very careful to have nice clean lines before moving on. If I fix all the gaps I can at this stage then laying on tones is as simple as flood filling for five minutes.
Where there are gaps, I used to draw in little extra lines to fill them. I now use the line level tool to stretch the lines until they cross and then use the eraser in 'clear to intersection' mode to make all the lines as neat as I can.
Notice the lack of textural detail on the wardrobe and walls. I only use vectors to create the areas of tone. I used to use vectors to add detail but it made selecting areas during toning really troublesome.
Step 5 toning
Toning is simply a case of working what sort of exposure I want for the scene, which usually entails deciding what value skin tone will be at.
I then lay down the three tones and cut into them only on people's skin for rapidity's sake. Recently I've been doing highlights on more than skin and perhaps that's the way things are heading.
Next I put on the blacks as Raster layers, specifically shadows and details. On complex panels I will separate the shadows from the detailing, again because it makes selections of areas much easier.
Step 5 finishing
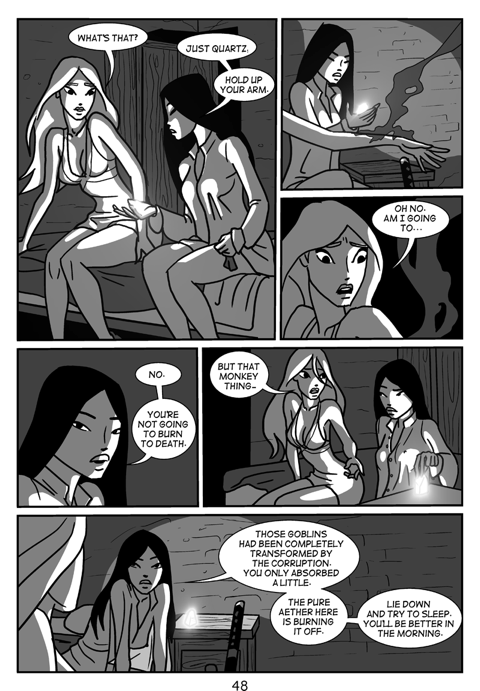
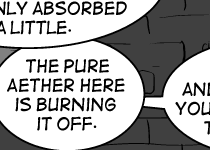
Last I add some layers for Special effects, filters and all that jaz. Add the tails to the speech balloons and clean them up by adding a single Raster layer at the very top of the page layers and painting white over where they overlap:
And that's that.
I can safely say that I am enjoying drawing more now than I have in many years. If you haven’t made a webcomic yet, I highly recommend it. It’s fun, challenging and pretty rewarding so long as you don’t care how many people are actually reading it. Hopefully readership will continue to grow and Otherwrold will become as big as I hope it can be.
Thanks for reading.